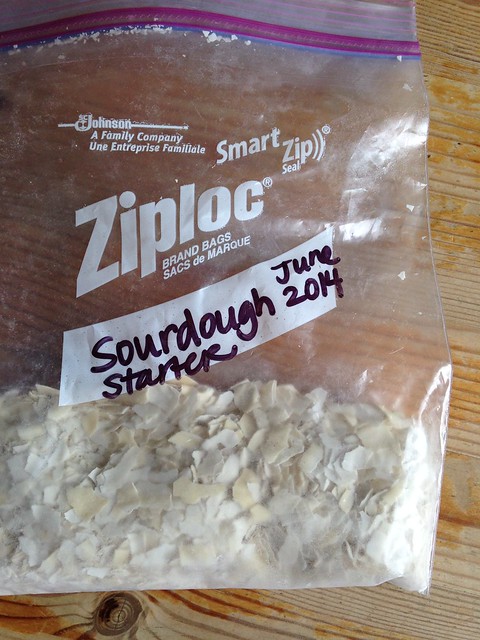
What I didn't fully realize was that in doing so, I was basically adding a part-time job onto my already quite busy schedule. (It actually takes a bit of work to revive a starter!) I followed the directions from this post from King Arthur Flour: Putting Your Sourdough Starter on Hold (which also covers "Bringing Your Sourdough Back to Life" :))
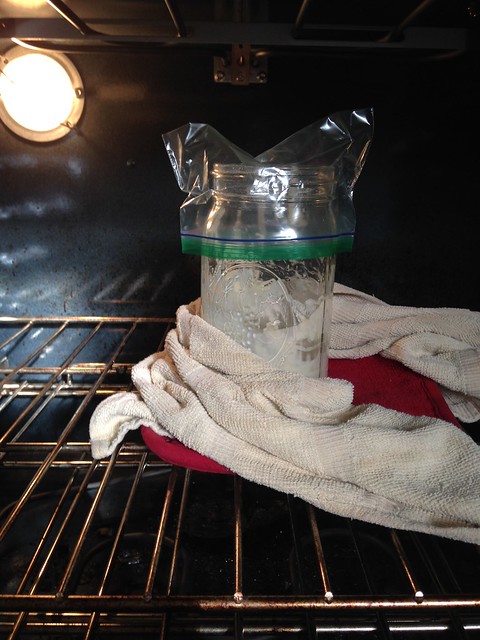
It sat in my oven with the light on for days looking like this:

So that I could get to do this,
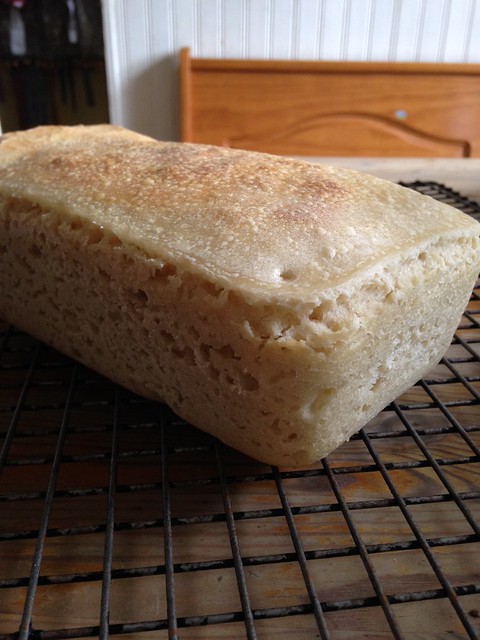
I've been paying pretty close attention to my starter, trying to study it and figure out the best feeding/rising/baking schedule and system for our lifestyle. I've baked sourdough three times (6 loaves total) within the past two weeks. We all LOVE it.
However, now my starter is in the fridge on an I'll-feed-it-weekly (and maybe bake once a week or once every-other week) schedule, because I don't really have time to babysit it each day. ;)
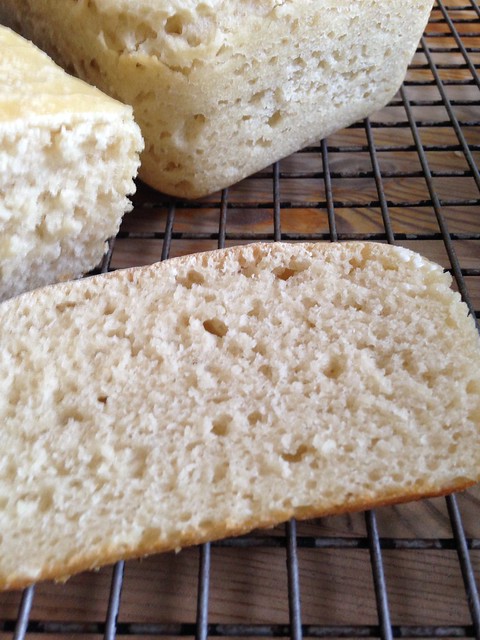
I am still bummed that while the sourdough tastes delicious and I think it looks right, it doesn't have the same rise as the other breads I've baked. I keep tweaking it trying to change my feeding/rise times in order to get a nice rounded loaf top, but... all to no avail. I intend to perfect it, though. And I'm open to any tips for those of you who have any! :)
Other posts on bread and bread-making:
Adventures in Sourdough Bread-Baking (from two years ago)
Fall Deliciousness


No comments:
Post a Comment
Thank you for commenting! I love hearing from you, and I will do
my best to reply back to you in the comment section.